We are fully operational and open for business!
(850) 374-3368

CALL NOW

ORDER ONLINE

Coffee Brew Guide

1. CHOOSE YOUR METHOD

2. HOW MANY CUPS

3. STRENGTH PREFERENCE

RESULTS

  • Coffee
    0g
  • Coffee-to-Water
    1:0
  • Yields
    0g
  • Grind
    -
auto-drip brewing instructions
The classic countertop drip machine has been a household staple since the 1950s, when automated brewing became a morning ritual. Known for its convenience and consistency, drip brewing produces a clean, balanced cup that’s perfect for everyday sipping — smooth, familiar, and easy to repeat.
STEP 1
Prep & Rinse

Rinse your paper filter with hot water to remove papery flavors and warm the brew basket and carafe.

  • A preheated carafe helps keep your coffee hotter, longer.
  • Rinsing the filter also seals it against the basket, helping water flow evenly.
STEP 2
Load & Level

Add your freshly ground coffee into the filter and gently shake to create a level bed.

  • A level bed ensures even extraction and prevents water from rushing through too quickly.
STEP 3
Fill the Reservoir

Pour fresh, cold, filtered water into the machine’s tank.

  • Fresh water with balanced minerals makes a noticeable difference in taste and aroma.
STEP 4
Brew & Wait

Start the brew cycle and resist the urge to lift the lid.

  • Lifting the lid can disrupt water temperature and flow, leading to uneven brewing.
STEP 5
Swirl & Serve

Once brewing finishes, gently swirl the carafe to mix the coffee before pouring.

  • If bitter, grind coarser; if sour, grind finer.
french press brewing instructions

Classic and full-bodied. The French Press originated in Italy in the 1920s, and became a go-to across Europe for those who wanted a strong, immersive brew without the flash.

Why we love it: It gives you a rich, textured cup with almost no equipment. It’s the kind of coffee you sip slowly on a quiet morning, dockside or on your porch.

STEP 1
Prep & Warm

Pour hot water into your French Press to preheat it, then discard the water.

  • A warm brewing chamber helps maintain temperature during the steep, leading to richer extraction.
STEP 2
Add & Level

Add your coarse-ground coffee into the press and gently shake the container to level the bed.

  • A flat coffee bed ensures even saturation when you pour the water.
STEP 3
Bloom & Fill

Pour hot water over the grounds, saturating everything evenly. Let it bloom for 30 seconds, then fill to your desired level.

  • Blooming releases trapped gases that can otherwise repel water and hinder extraction.
STEP 4
Steep & Wait

Place the lid on (plunger up) and allow the coffee to steep for 4 minutes.

  • Disturbing it too early can cause under-extraction; waiting allows flavors and body to fully develop.
STEP 5
Press & Serve

Slowly press the plunger down and immediately pour the coffee into cups or a thermal carafe.

  • Letting coffee sit on the grounds will cause bitterness as it continues extracting.
Pour Over brewing instructions
Precision meets pause. Pour over brewing is rooted in Japanese and European coffee cultures, especially popularized in the third wave coffee movement. It’s for those who like their coffee bright, clean, and mindful. ​ Why we love it: It turns your coffee ritual into a moment. Slow pour, steady hand, and a cup that lets every note of the bean shine through.
STEP 1
Prep & Rinse

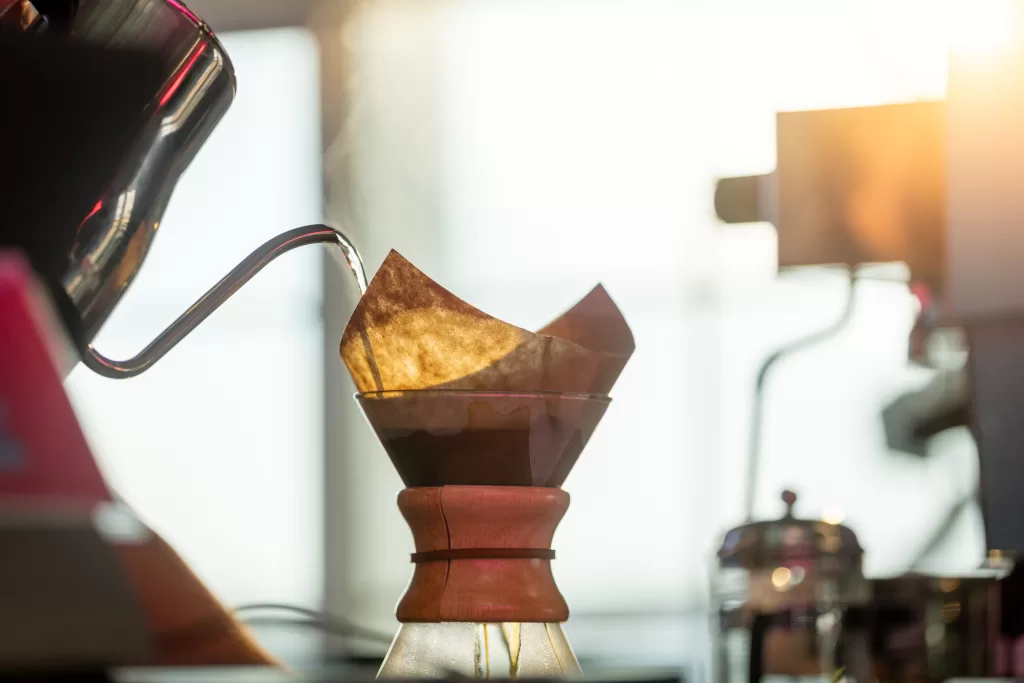
Place a filter in your dripper and rinse it thoroughly with hot water.

  • Rinsing removes papery flavors and preheats the dripper, helping water maintain consistent temperature.
STEP 2
Add & Settle

Add your medium-fine coffee grounds and gently tap or shake the dripper to level the surface.

  • A flat, even bed allows water to move uniformly through the grounds.
STEP 3
Bloom & Begin

Start with a small pour (about twice the weight of the coffee) to bloom for 30–45 seconds.

  • Blooming allows gases to escape, preventing uneven dripping and channeling.
STEP 4
Pour & Guide

Slowly pour water in controlled spirals, keeping the bed submerged but not flooded.

  • Steady, gentle pouring ensures even extraction and brings out nuanced flavor notes.
STEP 5
Drain & Enjoy

When the final water passes through, remove the dripper and swirl the carafe before serving.

  • A light swirl helps merge the different extraction layers into a balanced cup.
Aeropress brewing instructions
Invented by an engineer, loved by travelers. The Aeropress was created in 2005 by the same guy who made the Aerobie flying disc. It’s become a cult favorite for its speed, flavor, and zero-fuss design. ​ Why we love it: It’s small, quick, and surprisingly smooth—perfect for van life, boat mornings, or hotel counters. Take it anywhere, brew it your way.
STEP 1
Prep & Rinse

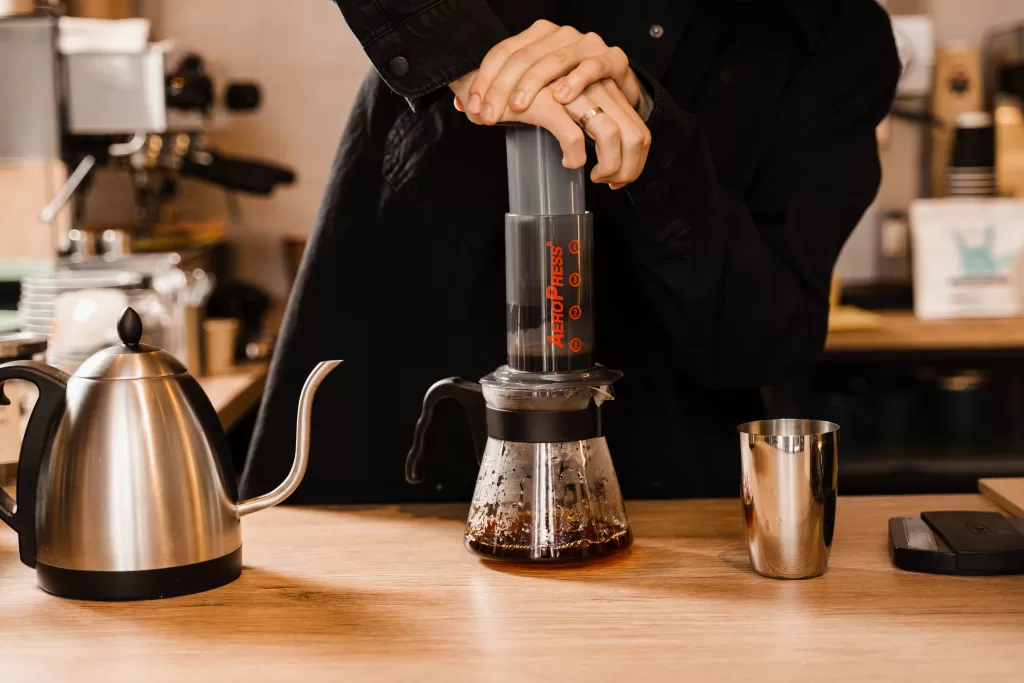
Insert a paper filter into the cap, rinse it with hot water, and preheat the AeroPress chamber.

  • A rinsed filter removes paper taste and the preheated chamber maintains stable brewing temperature.
STEP 2
Add & Level

Add your finely ground coffee to the chamber and lightly shake to level.

  • A level bed helps water saturate the grounds evenly, especially important in such a quick extraction.
STEP 3
Bloom & Stir

Pour hot water over the grounds and allow a brief bloom of about 10 seconds, then stir gently.

  • Stirring ensures all grounds are evenly wet, preventing pockets of under-extraction.
STEP 4
Press & Wait

Attach the cap, wait your desired time (typically 60–90 seconds), then press slowly.

  • A slow, steady press extracts flavor without forcing fines through the filter.
STEP 5
Dilute & Serve

Add hot water to taste if you prefer an Americano-style cup.

  • Adjusting dilution lets you tailor strength without altering the brew quality.
Cold Brew brewing instructions
Old technique, new cool. Cold brew has roots as far back as 17th century Kyoto, but it’s made a comeback for good reason: it’s bold, smooth, and ready when you are. ​ Why we love it: Prep it the night before, and you’ve got an ice-cold, mellow kick waiting for you the next day. No bitterness, no heat, no rush.
STEP 1
Prep & Measure

Choose a coarse grind and add it to your brewing vessel or cold brew maker.

  • A coarse grind prevents over-extraction during the long steeping process.
STEP 2
Add & Saturate

Pour cold, filtered water over the grounds, ensuring everything is fully wet.

  • Proper saturation avoids dry pockets that lead to weak, uneven flavor.
STEP 3
Stir & Seal

Give the mixture a gentle stir and cover or seal the container.

  • Stirring ensures even extraction, and sealing keeps out odors from the refrigerator.
STEP 4
Steep & Wait

Refrigerate and steep for 12–24 hours, depending on desired strength.

  • Long extraction at low temperature creates a sweet, mellow, concentrated brew.
STEP 5
Strain & Serve

Strain through a filter or mesh, then refrigerate the concentrate.

  • Cold brew concentrate can be enjoyed over ice, diluted with water, or mixed with milk.
Espresso brewing instructions
Short, strong, and built for momentum. Born in Italy in the early 1900s, espresso was designed to deliver coffee fast—with flavor that hits hard and stays with you. ​ Why we love it: It’s the base of nearly every modern café drink, and when done right, it’s an art form. We use it to craft everything from our iced lattes to Cuban-style café con leches.
STEP 1
Prep & Purge

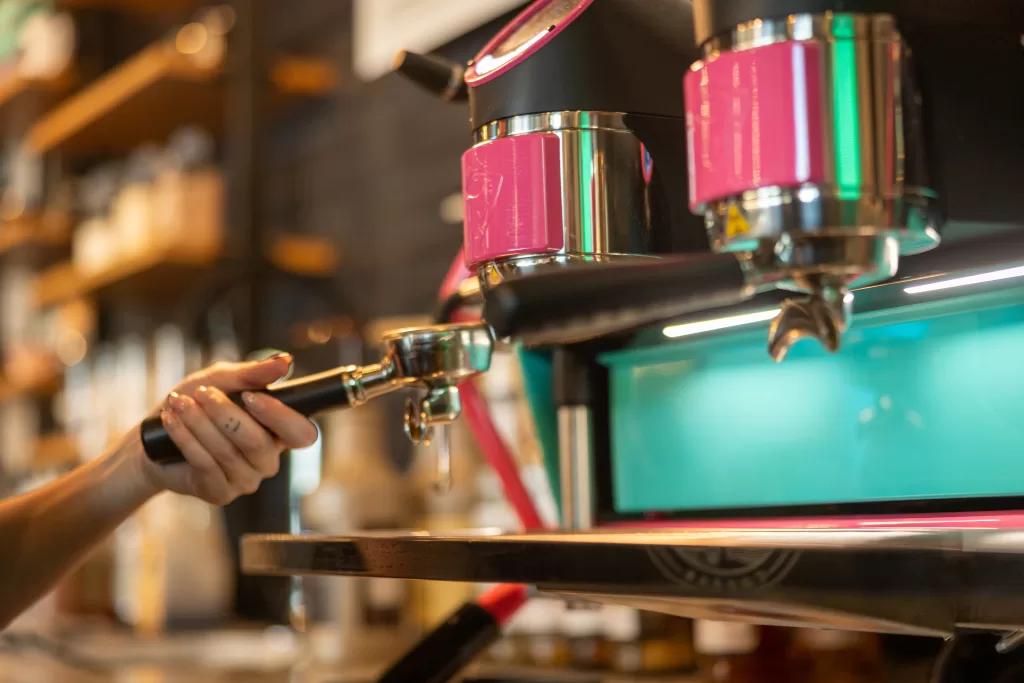
Turn on your machine, allow it to heat fully, and run a quick water purge through the group head.

  • Purging stabilizes temperature and clears residual grounds for a cleaner shot.
STEP 2
Dose & Distribute

Add your finely ground coffee to the portafilter, then distribute and level the bed.

  • Even distribution is critical to prevent channeling, where water finds weak spots and extracts unevenly.
STEP 3
Tamp & Lock

Tamp the grounds with firm, even pressure and lock the portafilter into the group head.

  • A consistent tamp creates uniform resistance, allowing pressure to build properly during extraction.
STEP 4
Brew & Watch

Start the shot and watch for a steady, honey-like stream.

  • Visual cues help you determine extraction quality: too fast = under-extracted; too slow = over-extracted.
STEP 5
Serve & Adjust

Serve immediately for optimal flavor and texture.

  • If the shot tastes sour, grind finer; if bitter, grind coarser or shorten extraction time.

COFFEE